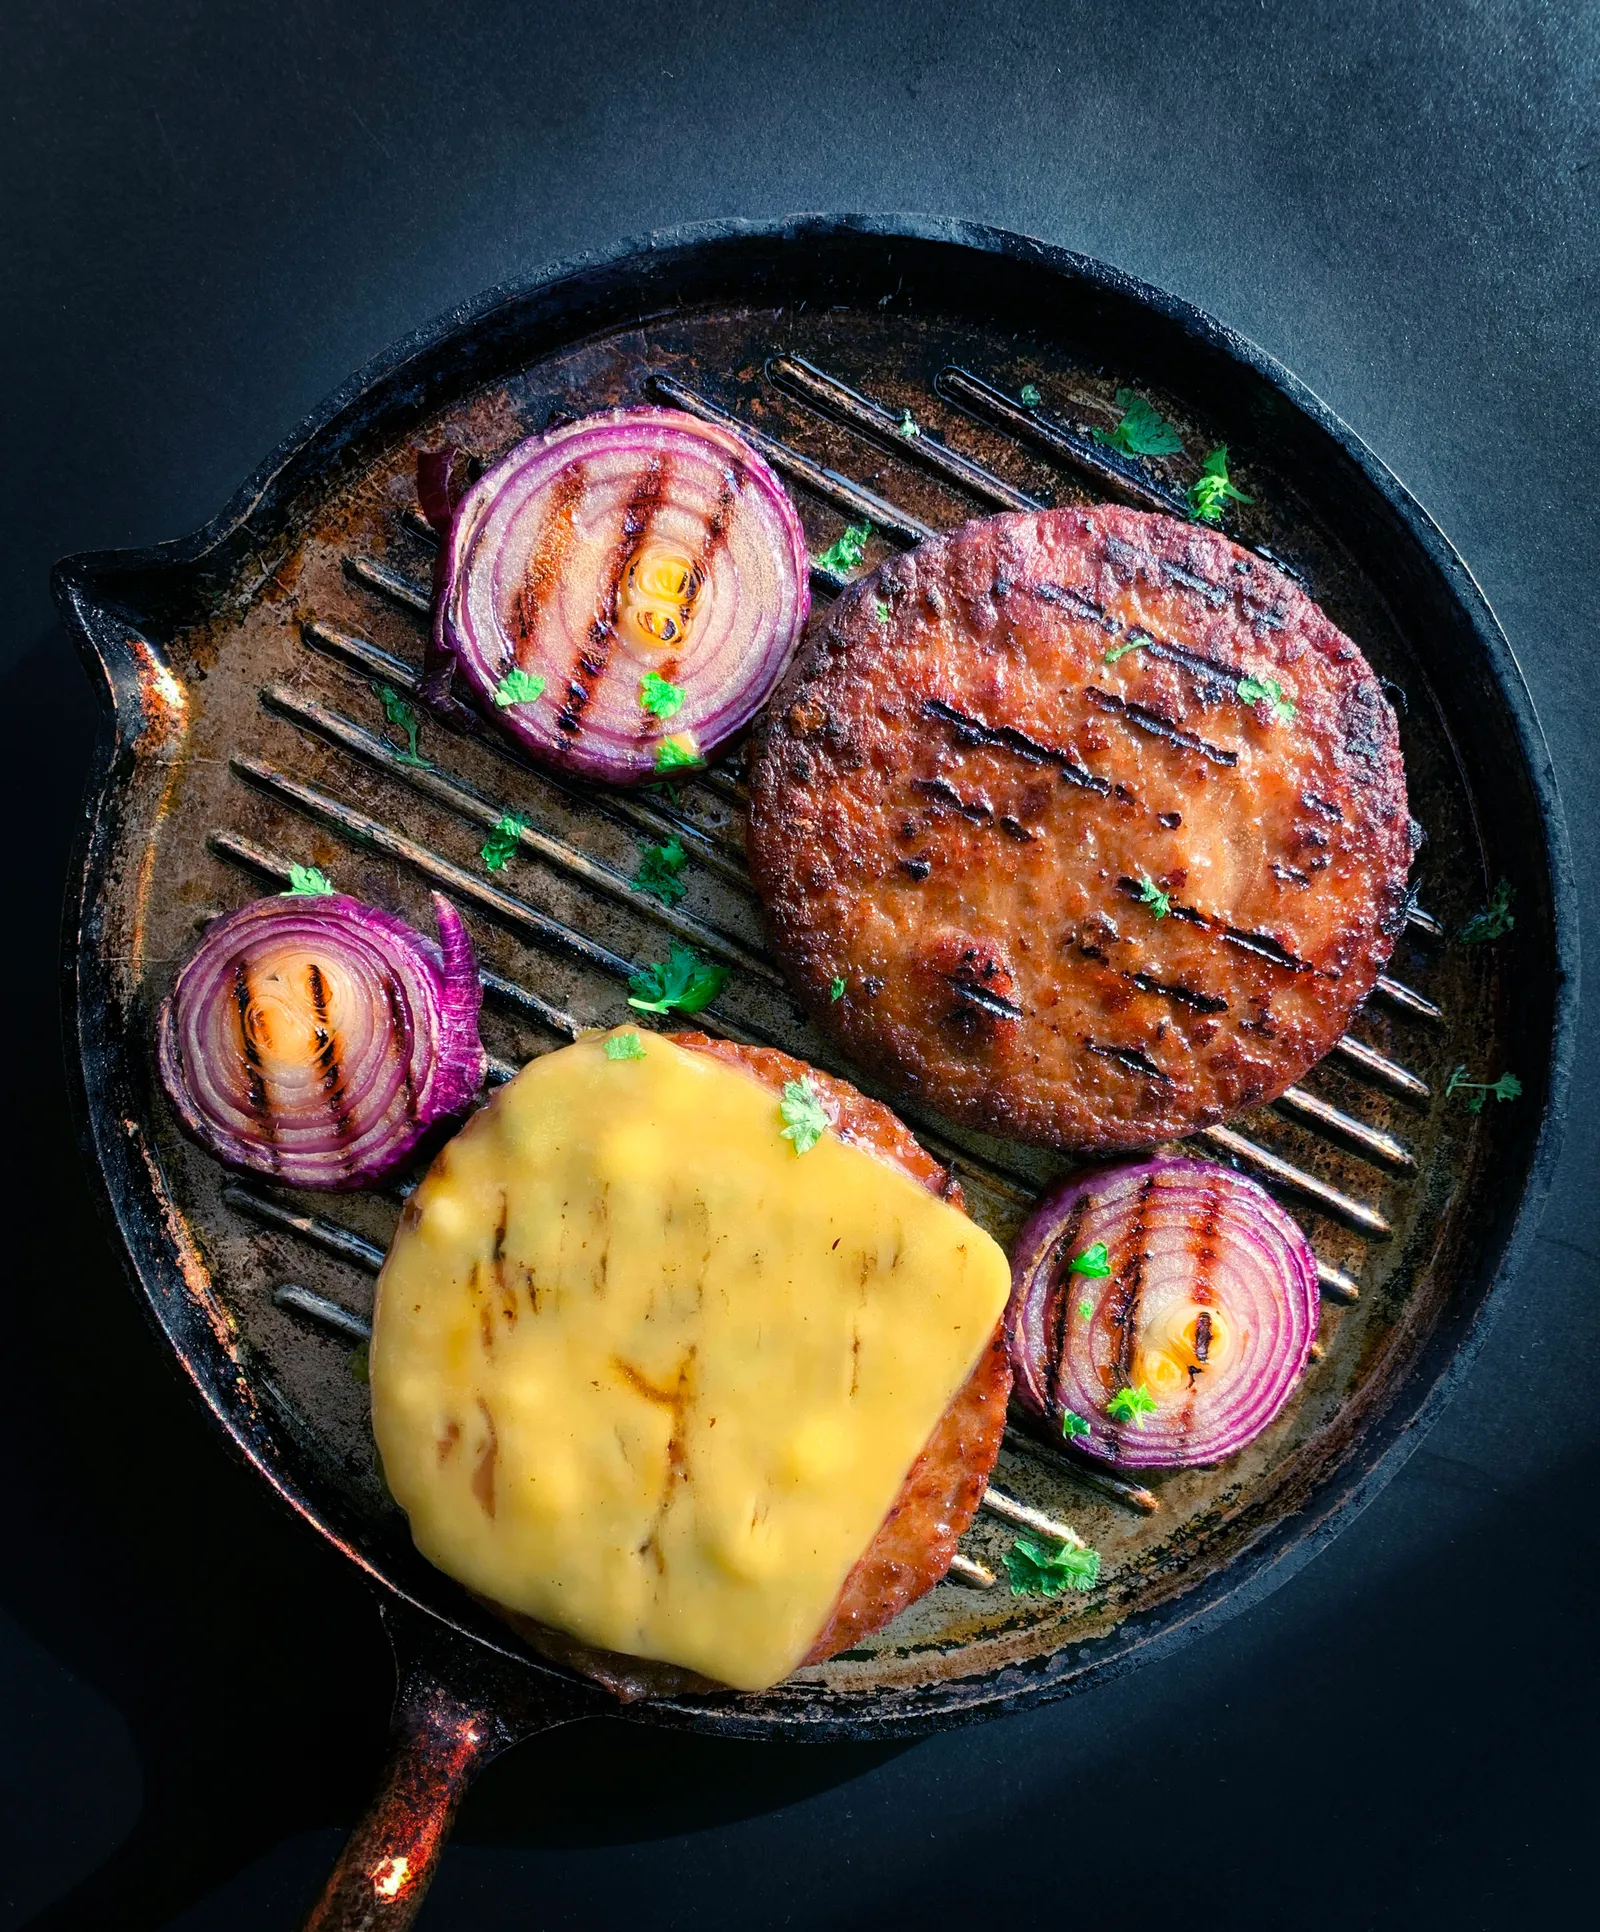
Burgers in a cast iron skillet fail in one predictable way: a burnt crust, a raw middle, and a patty welded to the pan. That is what happens when you cook ground beef like a steak, and most burger advice online does exactly that. It tells you to bring the meat to room temperature, salt it and let it sit, heat the pan until it smokes, and pull the burger at a steak’s doneness temperature.
A burger is not a small steak. Below are three methods picked by thickness (smash, classic, and thick), the one number that matters (160°F), and the cast iron problems the recipe cards skip: how long to preheat, how many patties actually fit, and what to do with all that grease and smoke.
Who this is for
You have a cast iron skillet and a pound of ground beef, and you want a burger with a real crust and a cooked center without firing up the grill. Maybe your last attempt looked like the one a Reddit cook described: the patties “immediately stuck to the skillet and were overcooked on the outside and the inside didn’t reach 165ish even.” Maybe you have only ever made smash burgers and want a thicker one, or the reverse.
If your goal is a steak, our guide to cooking a steak in a cast iron skillet is the one you want. Ground beef follows different rules, and this article is about those rules.
TL;DR: burgers in a cast iron skillet, by thickness
To cook burgers in a cast iron skillet, preheat the pan over medium heat for about 5 minutes, salt cold patties on the outside only, and cook 3/4-inch patties about 4 minutes on the first side and 3 to 4 on the second, until a thermometer reads 160°F. Smash burgers want a smoking-hot pan. Thick burgers need a low oven first.
- Pick the method by thickness. Smash (4 ounces pressed to 1/2 inch), classic (3/4 inch), or thick (1 inch and up). Each needs a different heat.
- 160°F is the target for store-bought ground beef, measured with a thermometer. Steak doneness temps don’t apply.
- Color lies. USDA cites research showing patties that look well-done at 131°F, and lean beef that stays pink above 160°F.
- Cold patties, not room temperature. Warm fat smears and leaks out.
- Salt the outside, right before the pan. Salt mixed into the meat turns it springy, like sausage.
- Flip as often as you like once the first side releases. “Flip only once” is a myth.
- Preheat for 5 minutes. Cast iron spreads heat slowly.
- Don’t crowd the pan. A 12-inch skillet fits four classic patties, or two smash burgers.
- Pour off the fat between batches, or the second batch fries greasy and smokes.
Why a burger is not a small steak
Steak habits are everywhere in burger recipes, and four of them break on ground beef.
Ground beef needs 160°F (and color won’t tell you)
A steak’s center is sterile muscle, so bacteria sit on the outside and the sear kills them. Grinding mixes the outside of the meat all the way through the patty. That is why USDA’s Food Safety and Inspection Service tells consumers to “cook all raw ground beef to an internal temperature of 160 degrees F as measured with a food thermometer,” and names E. coli O157:H7 and Salmonella as the reason.
The same USDA page explains why cutting a patty open to check is not a test. Research found some patties looked well-done at internal temperatures as low as 131°F, especially beef that had already browned in the package. Some lean ground beef stayed pink well above 160°F. The only reliable check is an instant-read thermometer pushed into the patty from the side, so the tip sits in the center.
You will see lower numbers elsewhere. Kenji López-Alt at Serious Eats aims for a 130°F medium-rare burger, but in the same article he grinds his own beef and calls store-bought ground beef “a crapshoot,” naming E. coli among the reasons.
For beef from a supermarket package, 160°F is the number. Cooking lower is a risk some cooks choose with beef they grind themselves; it is not a safety method.
Salt the outside, right before the pan
Steak benefits from salt applied 40 minutes ahead. Ground beef does not. Serious Eats ran the test on salting ground beef with three patties at the same salt level: salted on the outside just before cooking, salt tossed into the meat in a bowl before forming, and salt added before grinding. Tenderness came out high, moderate, and low, in that order.
Salt dissolves meat proteins, which bind the grind together into a tight, bouncy texture. That is exactly what you want in a sausage and exactly what you don’t want in a burger. Kenji’s conclusion: “refrain from getting the meat anywhere near the salt until just before you cook it.” So skip the recipes that work salt and garlic powder into the beef in a bowl. Form the patties, then salt and pepper the outside when the pan is ready.
Cold patties, not room temperature
Tempering a steak on the counter is common advice. For burgers, keep the patties cold. Serious Eats puts it bluntly: “Until your burgers are fully formed, heat is their mortal enemy.” Warm fat softens, smears onto your hands and the cutting board, and leaves the patty.
Cold fat also holds the juices in place while you cook. That is why smashing works at all, as you will see below. Form the patties, put them back in the fridge, and take them out when the skillet is hot.
Hot pan, but not for every burger
A steak wants a smoking pan. A thick burger in a smoking pan is the Reddit failure above: by the time heat reaches the center, the outside has burned and fused to the iron. The top reply on that thread got it right: “It’s a common misconception that you use the same temperature to cook a burger that you do a steak.”
The exception proves the rule. A smash burger is so thin that the whole cook takes only a few minutes, so maximum heat is exactly right. Heat should match thickness, which is why the methods below are split by thickness.
Before you start: preheat, batch size, and fat
Preheat the cast iron longer than you think
Cast iron conducts heat slowly, at roughly a third to a quarter the rate of aluminum, which is why our cast iron on induction guide spends so long on the preheat. Put the skillet over medium heat for about 5 minutes so the heat spreads from the circle over the burner to the edges. Serious Eats’ smash burger recipe uses the same 5 minutes on medium before it turns the heat up.
To check without a thermometer, flick a few drops of water onto the pan. If they sit and sizzle, wait. If they dance and vanish within a second or two, you are ready for classic burgers.
How many burgers fit in your skillet
The stated size of a skillet is the rim. The flat cooking surface is smaller: about 8 inches on a 10.25-inch skillet and about 10 inches on a 12-inch, per our cast iron skillet sizes chart. Crowd it and the cold patties drop the pan’s temperature, the rendered fat has nowhere to go, and the burgers steam instead of searing.
| Patty | Approx. raw width | 10.25-inch skillet (8-inch flat base) | 12-inch skillet (10-inch flat base) |
|---|---|---|---|
| Smash: 4 oz pressed to 1/2 inch | 4 to 4 1/2 in | 1 | 2 |
| Classic: 4 oz at 3/4 inch | about 3 1/2 in | 2 with room (3 touching) | 4 with room |
| Big: 6 oz at 3/4 inch, or 8 oz at 1 inch | about 4 1/4 in | 1 with room (2 touching) | 2 with room (3 touching) |
The widths are geometry, not a lab test: raw beef weighs close to the same as water, so 4 ounces fills about 7 cubic inches, and the fit counts are circle-packing math on those flat bases. The smash row follows Serious Eats, which recommends cooking only two patties at a time in a 12-inch skillet. If you cook for four, the 12-inch is the burger pan; our best cast iron skillet guide compares the options.
Oil or no oil?
80/20 ground beef (about 20% fat) renders plenty of its own fat, so a well-seasoned skillet needs very little oil. Serious Eats wipes 1/2 teaspoon of vegetable oil around a 12-inch pan for smash burgers, and that is a good default. Lean 90/10 beef needs a little more.
If you add oil, pick one that tolerates heat. Refined avocado oil smokes around 520°F and grapeseed around 420°F, while refined olive oil smokes near 375°F (figures from our oil smoke point comparison). Keep butter out of the sear; its milk solids burn around 350°F. It is better spent toasting the buns.
Smash burgers in cast iron (thin, maximum heat)
Smash burgers are where cast iron shines. The heavy pan holds its heat when cold beef hits it, which is the same reason our cast iron vs stainless steel comparison gives smash burgers to cast iron. This method follows Serious Eats’ classic smashed burgers recipe:
- Form pucks, not patties. Divide the beef into 4-ounce portions and press each gently into a puck about 2 inches tall. Season all sides with salt and pepper.
- Preheat, then crank it. Wipe 1/2 teaspoon of oil around a 12-inch skillet, heat on medium for about 5 minutes, then turn the burner to high until the pan smokes.
- Smash within 30 seconds. Add two pucks and press each with a stiff metal spatula until it is 4 to 4 1/2 inches across and about 1/2 inch thick. A second spatula stacked on top helps you push.
- Leave it alone for about 1 1/2 minutes, until a deep brown crust forms.
- Scrape, flip, cheese. Slide the edge of the spatula under the patty and scrape up every bit of crust as you flip. Add cheese now.
- Finish to 160°F. Serious Eats gives about 30 more seconds for medium-rare with freshly ground beef. With store-bought beef, keep going until a thermometer in the side reads 160°F.
The 30-second window matters. Kenji tested smashing at different stages of cooking and found you “must smash within the first 30 seconds” to avoid losing juice, because cold fat and juices stay locked in the meat only at the start. Press later and you squeeze them into the pan.
Classic cast iron skillet burgers (3/4 inch)
This is the backyard-style burger, cooked indoors. A 4-ounce patty about 3/4 inch thick fits a standard bun after it shrinks. Skillet recipes for that size land around 4 minutes on the first side and 3 to 4 on the second over medium heat; the thermometer decides when you’re done.
- Form and chill. Shape 4- to 6-ounce patties about 3/4 inch thick and a little wider than the bun, since they shrink as the fat renders. Handle the meat as little as possible. Refrigerate until the pan is ready.
- Preheat on medium for about 5 minutes. Add a thin film of oil only if the beef is lean.
- Salt and sear. Salt and pepper the outside, lay the patties in the pan with space between them, and don’t touch them for 3 to 4 minutes, until the bottoms are well browned and release.
- Flip, then flip again. Once the first side has let go, flip as often as you like. Serious Eats tested flipping frequency on half-pound patties: flipping every 15 seconds left about 40% less overcooked meat at the edges and cooked the burger in two-thirds of the time. Kenji notes the result applies to thick burgers, not thin ones. A 3/4-inch patty sits in between, so a few extra flips won’t hurt it.
- Check from the side. Pull the burgers when the center reads 160°F.
Don’t press a classic patty with the spatula mid-cook. By then the fat has warmed, and pressing pushes juice into the pan.
Should you dimple the patty?
Serious Eats recommends a slight dimple in the center to stop the “meatball syndrome,” where the middle puffs into a dome. Epicurious’s indoor-burger guide makes the counterpoint: in a skillet the edges don’t get the blast of heat they get on a grill, so patties puff less and the dimple is often unnecessary. Dimple the thick ones; skip it for classic and smash burgers.
Thick burgers: sear, then finish gently
An 8-ounce, 1-inch-plus burger is where the screaming-pan approach falls apart. By the time the center reaches 160°F, you have a thick gray band of overcooked meat under a burnt crust. Kenji’s fix, from the same flipping article, is the reverse sear, the method our steak guide uses for thick cuts:
- Start in the oven. Put the patties on a rack in a 200 to 225°F oven and cook until the center is about 10°F below your target. For store-bought beef that means about 150°F.
- Sear fast. Get the cast iron ripping hot. Because the patties go in warm and with a drier surface, they need only about 45 seconds per side instead of 2 to 3 minutes.
- Confirm 160°F in the center after the sear.
The patties look gray coming out of the oven. Kenji explains that is oxidation in the warm air, not overcooking, and the sear covers it. A bonus he points out: with most of the cooking done in the oven and only about a minute and a half in the pan, cleanup is easier and less beef smell lingers in the kitchen.
Prefer to stay on the stove? Sear both sides over medium-high until browned, then drop to medium-low and keep flipping every minute or so until the center hits 160°F. You will get more of a gray band than with the oven, and the frequent flips keep it thinner than a single flip would.
Cheese, grease, and smoke
Melting cheese with the lid
Add cheese after the last flip, then cover the skillet with a lid or an upturned metal bowl just until it melts. That is the only time a lid belongs on a burger pan; covered any earlier, the trapped steam softens the crust.
Pour off the fat between batches
A pound of 80/20 beef has about 3 ounces of fat in it by weight, and much of it ends up in the pan. Leave it there and the second batch shallow-fries in the first batch’s fat, the pan smokes, and the crust comes out greasy instead of crisp.
Between batches, tilt the skillet and spoon the fat into a heatproof container, such as an empty can. Never pour it down the sink, where it hardens in the pipes. If you want, strain and save it for frying potatoes or toasting buns.
Keeping the smoke down
Burgers smoke because fat hits hot iron. Some is unavoidable, especially with smash burgers on high heat. To keep it manageable:
- Use medium heat for classic burgers. Only smash burgers need the pan smoking.
- Pour off fat between batches, as above.
- Skip the oil with 80/20 beef, or use a high-smoke-point oil.
- Reverse-sear thick patties. Less time in the hot pan means less smoke.
- Run the hood on high before you start, and open a window.
Cleaning the skillet after burgers
Burgers leave behind stuck crust and a film of fat. Clean the pan while it is still warm:
- Scrape out the stuck bits with a spatula or pan scraper.
- Wash with hot water and a brush. A drop of dish soap is fine.
- Dry the skillet on the burner for a minute or two.
- Wipe on a very thin layer of oil and buff off the excess.
Our guide to cleaning a cast iron skillet covers each step. Wipe out the excess fat rather than leaving a thick layer to cool in the pan. A heavy coat that bakes on unevenly is one of the causes in why is my cast iron sticky.
What to skip
- Steak doneness temps for store-bought ground beef. 130°F medium-rare is a steak number (and a home-grinder’s choice). For packaged ground beef, USDA says 160°F.
- Checking doneness by color. Patties can look done at 131°F and stay pink above 160°F. Use a thermometer.
- Room-temperature patties. Warm fat smears out of the meat, and raw ground beef shouldn’t sit around anyway. Cook them cold.
- Salting ahead, or mixing salt into the meat. It makes a springy, sausage-like patty. Salt the outside right before cooking.
- Flipping only once. It is not a rule. Once the first side releases, flip freely.
- Pressing a patty after the first 30 seconds. That squeezes the juice into the pan. Smash early or not at all.
- A smoking-hot pan for thick burgers. It burns the outside before the center is safe. Reverse-sear instead.
- The 5-6-7 rule as a doneness test. It is a grilling shortcut with two conflicting versions. Your thermometer is the test.
- Crowding the pan. Four classic patties is the limit in a 12-inch skillet; two for smash burgers.
- Grease down the drain. Spoon it into a can.
Frequently asked questions
How long should I cook hamburgers in a cast iron skillet?
It depends on thickness, so cook to temperature, not the clock. A smash burger (4 ounces pressed to 1/2 inch) needs about 1 1/2 minutes on the first side, then the second side until it reaches 160°F. A 3/4-inch, 4-ounce patty over medium heat takes roughly 4 minutes on the first side and 3 to 4 on the second. Thick patties cook more evenly if you start them in a 200 to 225°F oven. Always stop at 160°F on an instant-read thermometer.
Do you oil a cast iron skillet before cooking burgers?
Usually just a little. With 80/20 ground beef the patties render plenty of their own fat, so a well-seasoned skillet needs at most a thin film; Serious Eats wipes 1/2 teaspoon of vegetable oil around a 12-inch pan for smash burgers. Use a bit more for lean 90/10 beef. Skip butter for the sear, because its milk solids burn around 350°F. Save it for toasting the buns.
How hot should the cast iron be for burgers?
It depends on the burger. For smash burgers, preheat on medium for about 5 minutes, then turn the burner to high until the pan smokes. For classic 3/4-inch patties, medium heat after a full 5-minute preheat is enough; a drop of water should dance and vanish within a second or two. For thick patties, a smoking pan burns the outside before the center reaches 160°F, so start them in the oven.
How do you keep burgers from sticking to cast iron?
Preheat the skillet fully, then leave the patty alone until the crust forms. A seared patty releases on its own, usually after 3 to 4 minutes for a classic burger; if it grips, give it another 30 seconds. Cold, fatty 80/20 beef sticks less than lean beef. For smash burgers, sticking is the point: scrape the crust up with the edge of a stiff metal spatula so it stays on the burger.
Should I cover the pan when cooking burgers?
Only at the very end, to melt cheese. A lid traps steam, and steam softens the crust you just built. Add the cheese after the last flip, then cover with a lid or an upturned metal bowl just until it melts. If a thick patty needs more time in the middle, finish it in a low oven rather than steaming it under a lid.
What is the 5-6-7 rule for cooking burgers?
It is a grilling shortcut with two versions. One means 5 minutes per side for rare, 6 for medium, and 7 for well-done, which Chowhound calls deeply flawed. The other, from a grill chef quoted by Food Republic, means 5 minutes, flip, 6 minutes, then a 7-minute rest for a medium burger, with 4-5-6 suggested for a skillet. Neither knows your patty’s thickness or your pan’s heat. A thermometer reading of 160°F does.
Is it better to cook a burger in a cast iron skillet?
For most home cooks, yes. A heavy cast iron skillet holds its heat when cold patties hit it, so a crust forms instead of the pan cooling off, and the whole face of the patty browns rather than just a few grill lines. You also keep the rendered fat for toasting buns. The trade-off is indoor smoke and grease, both manageable with medium heat and pouring off fat between batches.
Can you cook frozen burgers in a cast iron skillet?
Yes. USDA says raw meat can be cooked straight from frozen, but it takes about one and a half times as long. Use medium heat rather than high so the outside does not burn while the center thaws, pry the patties apart as soon as they loosen, and cook to 160°F. Expect a slower sear at first, because frozen patties release water as they thaw.
Related reading
The closest relative of this article is our steak guide, which uses the same thickness-first logic for whole cuts. For the heat-control side of things, eggs in a cast iron skillet is the gentle-heat counterpart to a smash burger’s full blast. If your stove is a glass top, cast iron on a glass top stove covers lifting a heavy, greasy pan without scratching the surface. And to pick the right pan for a family’s worth of patties, start with the cast iron skillet sizes chart.
You now have three burgers in your cast iron skillet instead of one: a smash burger in a few minutes, a classic patty in under 10, and a thick pub-style burger that is cooked through without a burnt crust. Keep the patties cold, salt them at the last second, preheat longer than feels necessary, and let the thermometer, not the color or the clock, tell you when they’re done.